Setup OpenClaw with Slack: from install to first message
OpenClaw is one of the friendliest ways to get a self-hosted AI assistant wired into the tools you already use, but only once you know the steps that quietly fail if you skip them. Getting it running end to end, installed, connected to Slack, and staying alive, takes more steps than the scattered docs make obvious, and a few of them fail silently if you miss them.
This is a practical OpenClaw setup walkthrough, written from actually doing it. No theory, no pitch. Pick your machine, install, connect Slack, done.
So what is OpenClaw, really?
OpenClaw is a self-hosted AI agent gateway. You run one Gateway process on a machine you control. That process routes messages, manages sessions, talks to your model provider, and connects to whatever chat surface you want, Slack, Telegram, Discord, and so on.
The mental model that helped me: you are not installing a chatbot. You are standing up a small piece of infrastructure. Once that clicks, the rest of the OpenClaw setup makes more sense.
Prerequisites
Two things before you touch anything:
- An API key from a model provider (Anthropic, OpenAI, or Google).
- A machine to run it on. The next step covers your options.
You also need Node.js 22 or newer, but depending on the machine you pick, that may already be handled.
Step 1: Choose your machine
The Gateway has to live somewhere, and that choice shapes the rest of the OpenClaw setup. Four reasonable options:
Mac mini at home. Reliable, fast, cheap to run. Con: it is a dedicated device that has to stay on, and exposing it to anything outside your network needs more work.
Your laptop. Fine for testing. Con: the Gateway dies when you close the lid, and the agent runs shell commands on the same machine you actually use.
A VPS (DigitalOcean, Hetzner, etc). Always on, isolated from your laptop. Con: you handle the OS install, Node, firewall, persistence, and DNS yourself.
A Superserve sandbox. Cloud sandbox with snapshotting, isolated by default. The superserve/openclaw template ships with OpenClaw and tmux pre-installed, so the install steps go away. Con: depends on a managed service, which is a tradeoff vs running your own box.
Full disclosure, we're biased, but we genuinely think a Superserve sandbox is the easiest and most effective way to run OpenClaw, especially if you want more than one. The install is short, isolation is sensible for an agent that runs shell commands, and snapshots make it cheap to experiment. That is what the rest of this guide assumes. The Slack and config steps are identical anywhere else, just install Node, OpenClaw, and tmux yourself first.
Create a Superserve sandbox
- Go to
console.superserve.aiand click Create sandbox. - Pick the
superserve/openclawtemplate. It comes with Node, OpenClaw, and tmux already installed. - Open Advanced Options and add your model provider key under Environment Variables, for example
ANTHROPIC_API_KEY. You will add the Slack tokens here too once you have them. - Create the sandbox and open its Terminal.
Confirm OpenClaw is on PATH:
bashopenclaw --version
Step 2: Run the onboarding wizard
openclaw onboard is the main entry point for OpenClaw setup. It walks you through the Gateway, the workspace, and your model provider.
bashopenclaw onboard
OpenClaw onboard output in the Superserve console
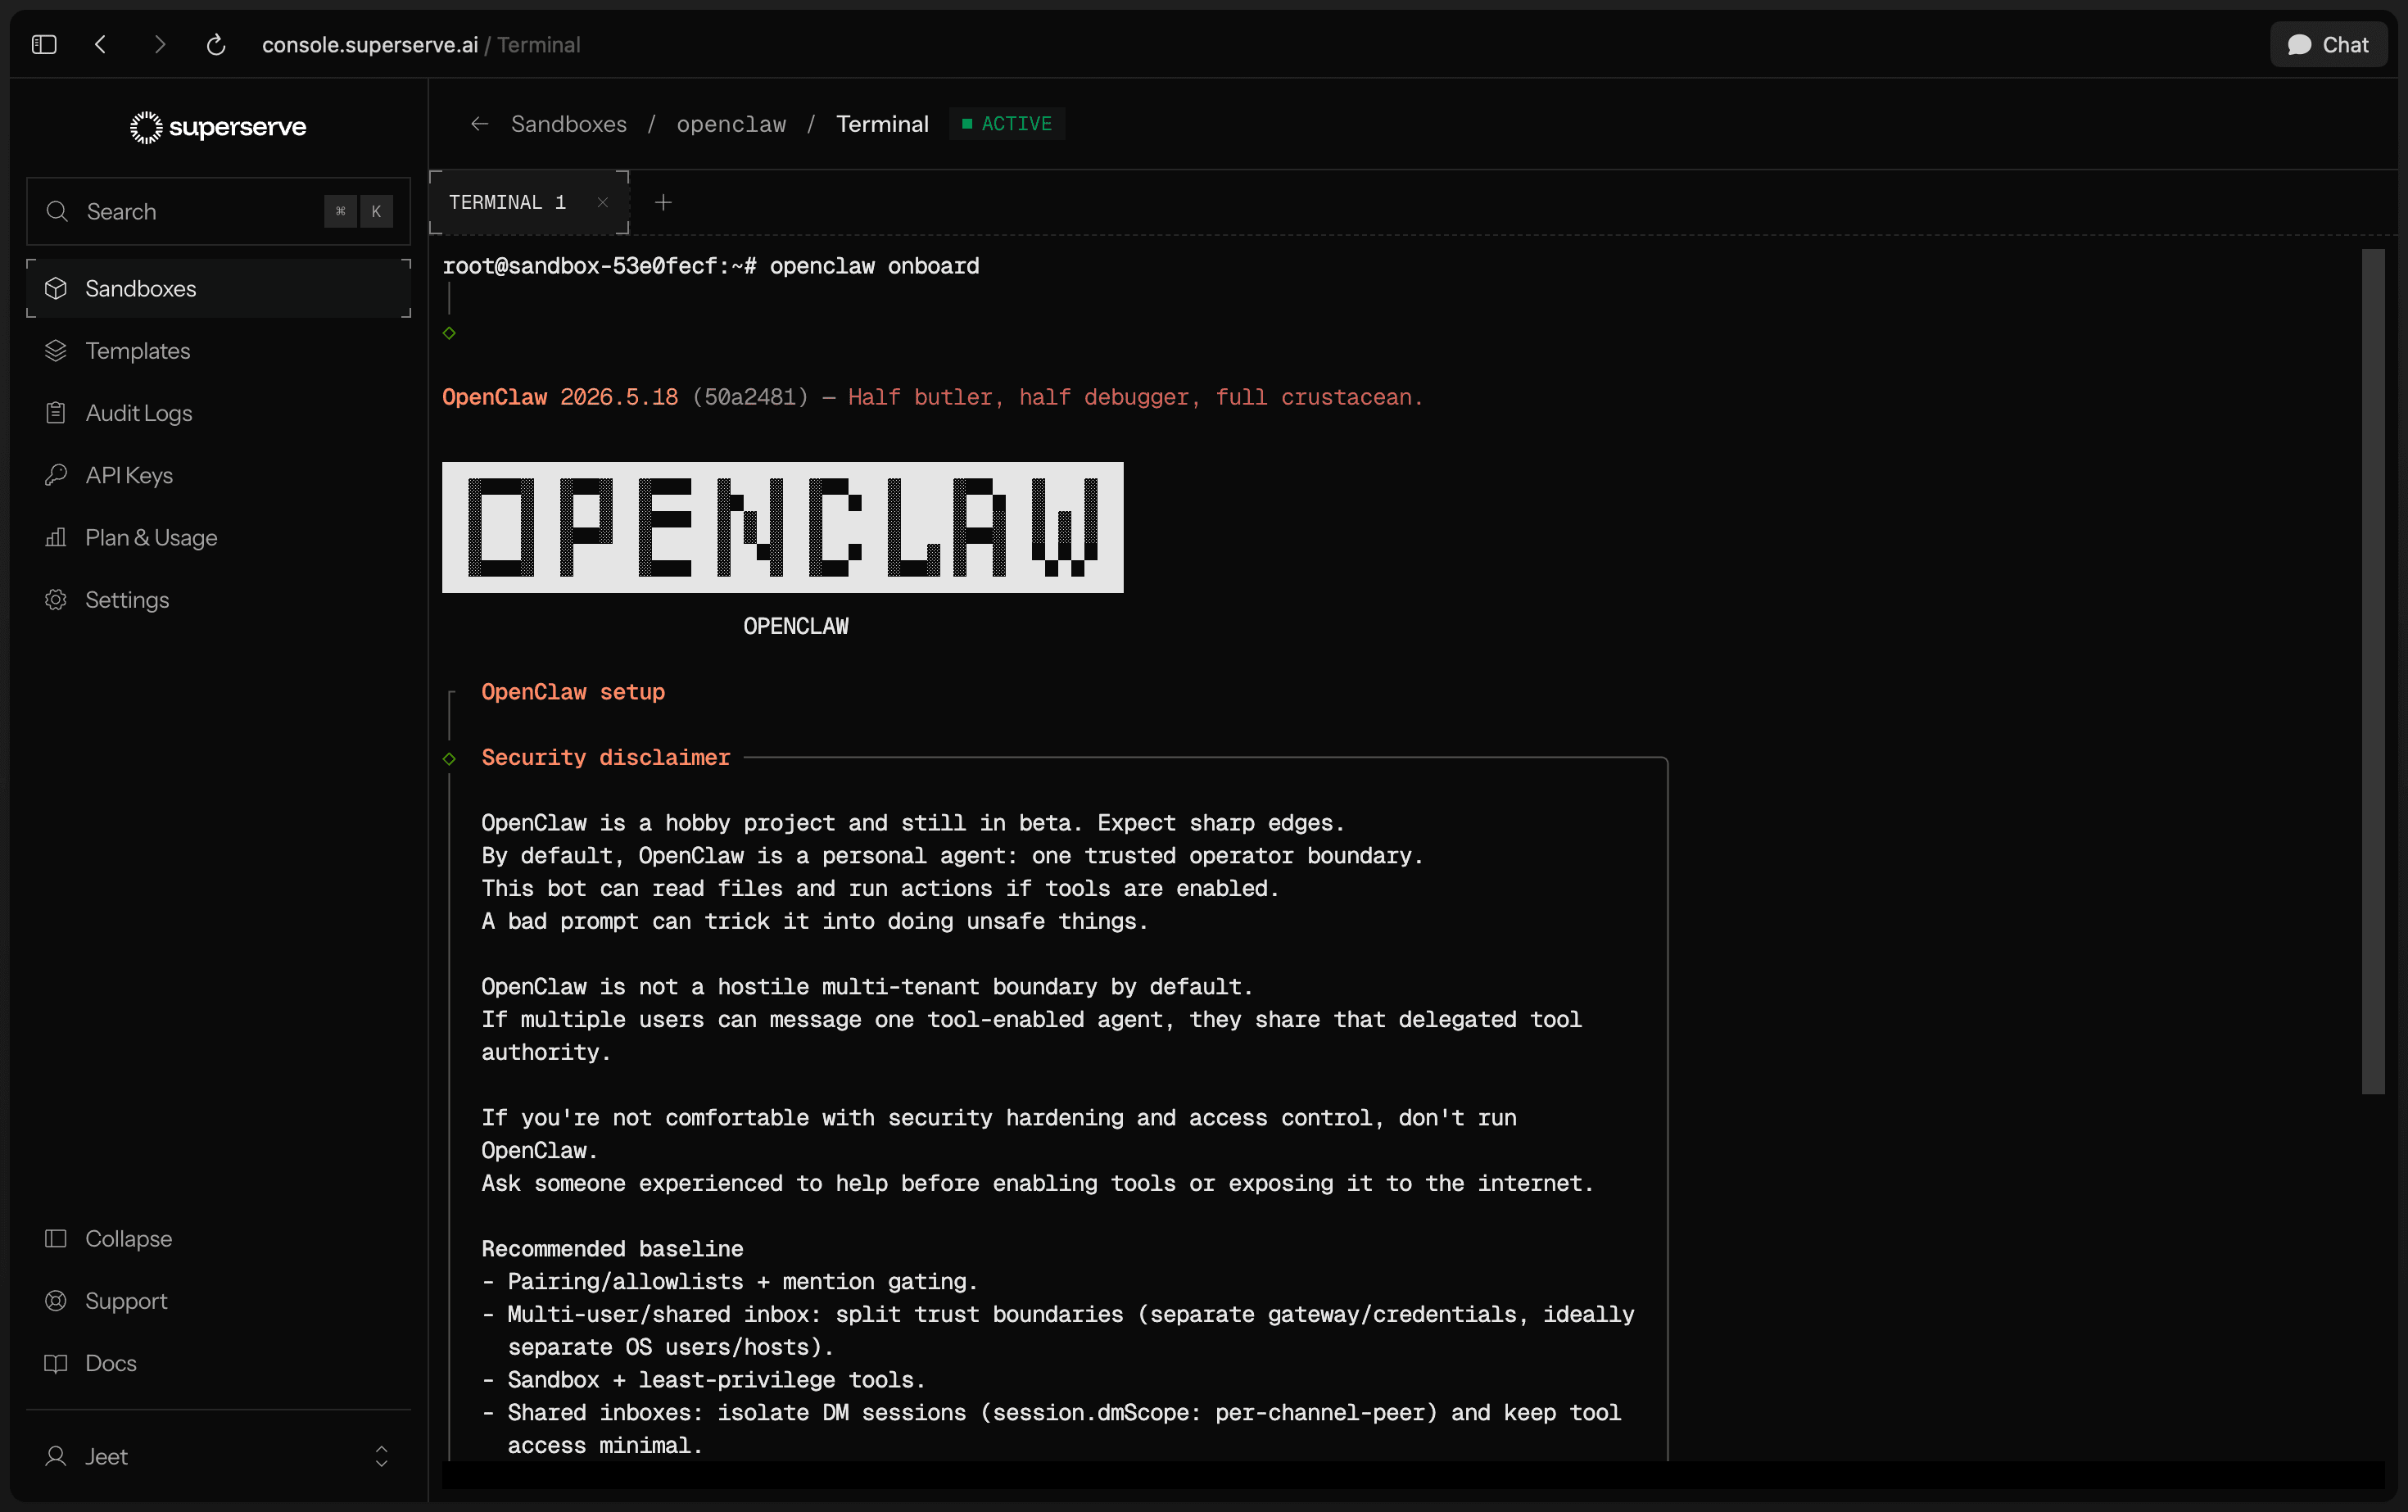
You can skip the hooks and most optional steps for now and configure them later. Get the core running first; everything else is easier once messages are flowing.
When it finishes, sanity check that your provider is wired up:
bashopenclaw models list
If the list is empty, your API key is wrong or billing is not set up. Fix that before going further, because nothing downstream will work without a model.
Step 3: Set up the Slack gateway
This is where most people get stuck, Slack has a lot of small switches that all have to be on. You need an app, two tokens, the right scopes, and event subscriptions. Miss one and the bot stays silent with no obvious error.
Create the Slack app
- Go to
api.slack.com/appsand create a new app from scratch. - Name it (I used
OpenClaw) and pick your workspace.
Enable Socket Mode
Socket Mode is the right choice for most OpenClaw setups. It uses an outbound WebSocket, so you do not need a public URL or any inbound firewall rules. This matters especially on a sandbox or home machine, where you cannot easily expose ports.
- In the app settings, go to Socket Mode and toggle it on.
- Go to Basic Information, then App-Level Tokens, and generate a token with the
connections:writescope. This is yourxapp-token. Save it.
Add bot scopes
Go to OAuth & Permissions, then Bot Token Scopes. Add at minimum:
textapp_mentions:read channels:history channels:read chat:write groups:history groups:read im:history im:read im:write mpim:history
If you want the bot to send or receive file attachments, also add files:read and files:write.
Subscribe to events
This step is easy to miss and it is the most common reason a freshly configured bot does nothing. Socket Mode connects fine without it, but if Slack does not know which events to send, nothing flows through.
- Go to Event Subscriptions and toggle Enable Events on.
- Under Subscribe to bot events, add:
textapp_mention message.channels message.groups message.im message.mpim
- Save changes.
Install and grab the bot token
Install the app to your workspace. Copy the xoxb- Bot User OAuth Token from OAuth & Permissions.
Important: any time you change scopes or events after this, Slack requires a reinstall, and the reinstall generates a new xoxb- token. Old token, old scopes. If you see missing_scope errors later, the reinstall did not take, or you are still using the old token.
Store tokens as environment variables
Slack needs two tokens, and you should not paste either of them directly into the config file. Use environment variables and reference them from the config. The two are:
SLACK_BOT_TOKEN, thexoxb-bot token from OAuth & PermissionsSLACK_APP_TOKEN, thexapp-app-level token from Basic Information
On a Superserve sandbox, add both under Environment Variables in the console, alongside your model key. Set there, they are injected into the sandbox environment itself, so every new shell and every process started in the sandbox sees them. This matters more than it sounds, see the note on the running Gateway below.
On any other machine, persist them in your shell profile:
bashecho 'export SLACK_BOT_TOKEN=xoxb-your-token' >> ~/.bashrc echo 'export SLACK_APP_TOKEN=xapp-your-token' >> ~/.bashrc source ~/.bashrc
Configure the Slack channel in OpenClaw
The config lives in ~/.openclaw/openclaw.json. The cleanest way to edit it is the openclaw config patch command, which validates against the schema instead of letting you break the JSON by hand. A blind hand-edit is a fast way to get cryptic validation errors.
The shape of the Slack config block can shift between versions, so treat the example below as a starting point and always run config patch --dry-run first to confirm what your version expects. This is the block that passed validation for me:
json"slack": { "enabled": true, "mode": "socket", "webhookPath": "/slack/events", "userTokenReadOnly": true, "botToken": { "source": "env", "provider": "default", "id": "SLACK_BOT_TOKEN" }, "appToken": { "source": "env", "provider": "default", "id": "SLACK_APP_TOKEN" }, "groupPolicy": "allowlist", "channels": { "C0XXXXXXXXX": { "requireMention": true } } }
A few things that tripped me up here:
mode,webhookPath, anduserTokenReadOnlyare required by the schema. If you patch a Slack block without them,config patchrejects it withmust have required propertyerrors.webhookPathis not actually used in Socket Mode, but the schema still wants it present, so give it a value like/slack/eventsand move on.- The
botTokenandappTokenuse the SecretRef format{ "source": "env", ... }so the tokens are read from environment variables, not stored in the file. Both tokens are needed:SLACK_BOT_TOKEN(thexoxb-bot token) andSLACK_APP_TOKEN(thexapp-app-level token). Socket Mode will not connect if either one is missing or unresolved. - Use the channel ID, not the name. Name-based keys silently fail to route. Get the ID by right-clicking the channel in Slack and copying the link. The ID is the
C...value at the end. - The channel ID as a key is itself the allow. There is no
allow: trueproperty to add inside it. Adding one fails schema validation. - With
groupPolicy: "allowlist", the bot only responds in the channels you list. If you skip the next part,doctorwarns that group messages are being silently dropped. To let anyone in the channel use the bot, you need to allow senders. Note thatdoctorand the schema disagreed here in the version I used:doctorsuggested adding senders togroupAllowFrom, butconfig patchrejectedgroupAllowFromas an unknown property. Runconfig patch --dry-runto find the field name your version actually accepts before relying on it. requireMention: truemeans people have to@the bot to trigger it. Without this the bot replies to every message in the channel, which gets old fast.
Set yourself as command owner
By default no one can run owner-only commands like /diagnostics or /config. Set your Slack user ID as the owner:
bashopenclaw config set commands.ownerAllowFrom '["slack:U0XXXXXXXXX"]'
Get your user ID from your Slack profile, three-dot menu, Copy member ID.
Step 4: Run doctor
openclaw doctor checks your config for common mistakes and risky policies. Run it before you start the gateway.
bashopenclaw doctor
It will flag things like empty sender allowlists, contradictory reply settings, a missing command owner, and the gateway not running. Fix what it flags before moving on, doctor is your best friend here. It is also the first thing to run any time the bot starts acting strange later, and it catches most misconfigurations on its own.
On a sandbox or any machine without systemd, doctor will also note that user services are unavailable and tell you to run the Gateway in the foreground. That is expected. The next step handles it.
Step 5: Start the gateway in tmux
The Gateway has to run in the foreground on any machine without a systemd user service, which includes sandboxes and most containers. Foreground means it dies when you close the terminal, so run it inside tmux:
bashtmux new -s openclaw openclaw gateway run
Watch the logs. You want to see socket mode connected and a line resolving your channel by ID. Then detach without killing the Gateway: press Ctrl+B, release, then press D. You are back at a normal shell and the Gateway keeps running.
To check on it or come back later:
bashtmux ls # list sessions tmux attach -t openclaw # reattach
One subtlety: you cannot move an already-running foreground process into tmux after the fact. If you started the Gateway directly in the terminal, you have to Ctrl+C it first, then start it fresh inside tmux. A few seconds of downtime.
Step 6: Test in Slack
In Slack:
- Invite the bot to the channel:
/invite @OpenClaw - Mention it:
@OpenClaw hello
If it responds, your OpenClaw setup is working. On first run the bot may ask you to do an identity bootstrap. Do that in a DM, not the channel. DMs are gated by pairing, so the bot sends a one-time code and you approve it from the terminal:
bashopenclaw pairing list slack openclaw pairing approve slack <code>
A few gotchas worth knowing
Env vars and the running Gateway. A process only sees environment variables that existed when its shell started. The Gateway runs inside a tmux session, and that tmux shell captured its environment when you created it. If you add or change a token after that, the already-running Gateway, and even the existing tmux shell, will not see the new value. After any token change, run source ~/.bashrc inside the tmux session (or rely on console-level env vars on a sandbox), then restart the Gateway with Ctrl+C and openclaw gateway run.
EAI_AGAIN against slack.com. This is a DNS resolution failure. It can happen when a long-lived process resumes before the network stack has fully settled, or when the host's DNS config is empty. Restart the Gateway first since DNS often resolves on retry. If it persists, check /etc/resolv.conf has a working nameserver, and confirm the host has outbound access to slack.com and Slack's WebSocket endpoints.
Startup optimization. Doctor suggests these on small hosts. Worth setting on a sandbox since it restarts often:
bashexport NODE_COMPILE_CACHE=/var/tmp/openclaw-compile-cache export OPENCLAW_NO_RESPAWN=1 mkdir -p /var/tmp/openclaw-compile-cache
Wrapping up
That is a full OpenClaw setup, from picking a machine through a working Slack channel and a Gateway running in tmux. The pattern across every problem I hit was the same: a silent failure with no error in the channel, and the real cause buried in scopes, event subscriptions, or process lifecycle.
Run openclaw doctor whenever something acts strange. It catches most of it. And remember: a running Gateway only sees the environment it started with. Restart it after any token change and save yourself an hour of confusion.
For a quick OpenClaw on Superserve setup, check out our OpenClaw integration doc.